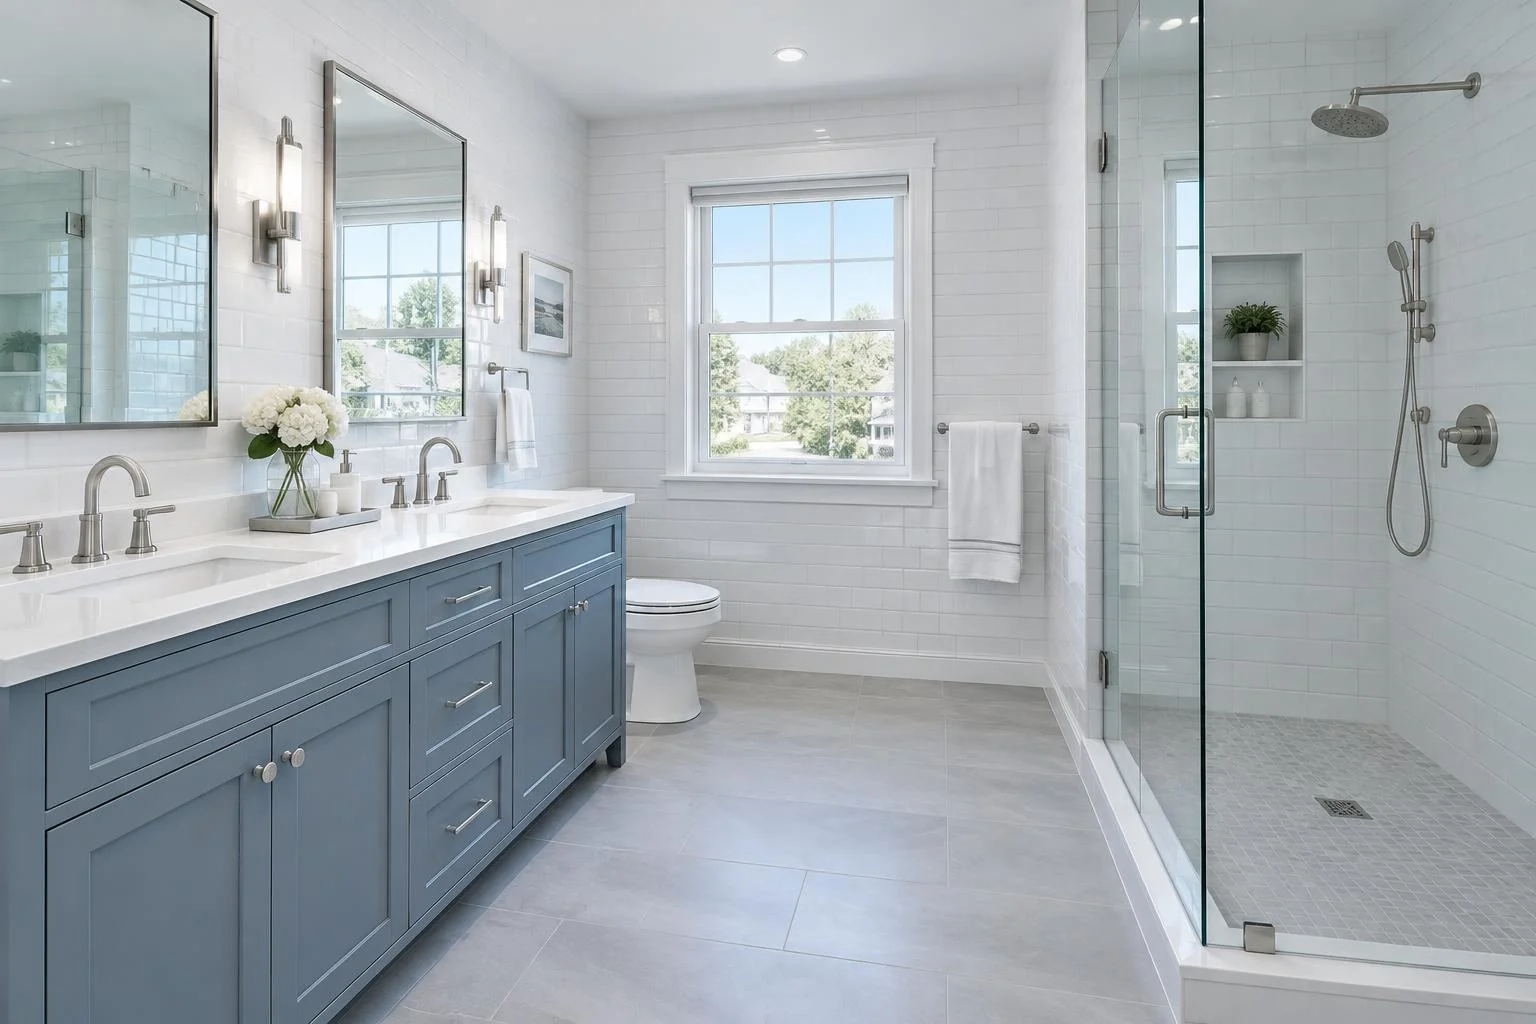
A bathroom retile should improve more than the photograph. It should give you a floor that feels solid, walls with considered proportions and finishes that are practical to live with. North Shore Tile Co. focuses on the tile work itself: removing tired finishes, preparing the surfaces beneath them and setting new tile with attention to the details you see every day. From Douglaston to Forest Hills, we help plan bathroom floors, wall tile and tub surrounds around your room rather than a generic layout.
We install tile only. We do not sell tile, and we have no showroom or warehouse.
We supply the installation materials: setting materials, grout, waterproofing membrane, trims as needed.
Choose your tile ahead of time with your designer, at a showroom or online. Have it delivered to your home, or we can pick it up. Any pickup arrangements and charges are agreed in advance.
What we do
A bathroom floor needs a stable foundation before it needs a beautiful tile. We look at the existing surface, the floor height at the doorway and how the tile will meet the tub, vanity and neighboring room. Loose finishes, uneven areas and movement in the underlying structure need to be understood before a new floor is installed. Simply covering an unresolved problem with new tile is not the same as a proper retile.
Wall tile can run around a tub, frame a vanity or extend through the room. We plan starting points and finishing edges so narrow strips do not become the focal point at a doorway or corner. A full retile gives you the opportunity to coordinate the floor and walls, while a smaller scope can update one surface without changing every finish in the bathroom.
Tub surrounds, recessed niches and tile returns need their own planning. We discuss shelf positions, trim choices and where exposed tile edges will end before setting begins. Heated floors can be considered as part of the floor build-up, with the product requirements and any electrical coordination established in advance. Repairs, regrouting and resealing are also available when the existing installation is sound enough to keep. We will discuss whether a targeted repair makes sense or whether the damaged area needs a more complete rebuild.
Tile types: choose for the room, not just the sample
Porcelain is a practical choice for many bathroom floors and walls. Ceramic offers a broad range of wall finishes, including familiar subway tile and more expressive shapes. The best choice depends on the intended surface, the product’s suitability for that use and the maintenance you want to take on. A wall tile is not automatically appropriate for a floor, and a glossy sample should be considered carefully in a wet walking area.
Marble and travertine bring natural variation, but they also need care suited to the stone. We talk through sealing, cleaning and expectations for how the finish may change with use. Large-format tile can create a quieter surface with fewer grout joints, but it makes flatness and handling especially important. Mosaic can work well as a detail or a change of scale; its many joints also deserve careful thought about cleaning and grout selection.
Bring a sample or a reference image to the estimate. We can review tile dimensions, edge profiles, pattern direction and grout color together. You choose the tile ahead of time with your designer, at a showroom or online. We review quantities and the allowance for cuts. Have it delivered to your home, or we can arrange pickup; any pickup charges are agreed beforehand. We supply installation materials, not the tile itself. Tile, trim and any special pieces should be coordinated before demolition so an overlooked finishing component does not interrupt the job.
Our installation process
Demolition & disposal
We remove the old tile within the agreed scope and haul away debris. Adjacent finishes are considered before removal begins. Opening up the surface also lets us inspect conditions that could not be seen during the estimate and discuss any additional preparation before continuing.
Substrate preparation
The exposed floor and walls are assessed for stability, flatness and suitability for the selected installation system. Preparation is not just a cosmetic skim: tile needs the right support. Any required repairs and changes in floor height are reviewed before setting materials are applied.
Waterproofing
Wet areas receive suitable waterproofing as part of the agreed system. Connections, corners and penetrations need continuity, not isolated patches. If the scope includes a custom shower, we follow the shower waterproofing and flood-test sequence before tile hides the membrane.
Layout
We establish the pattern, joint spacing and reference lines. The layout is checked against doors, corners, tub edges and fixtures so the finished cuts feel intentional. Changes in tile size or pattern are best resolved here rather than partway through installation.
Setting the tile
Tile is set with materials appropriate to the tile and substrate. We keep checking alignment, joint consistency and transitions as the work progresses. Large-format pieces and mosaics require different handling, so the installation method follows the selected product rather than a one-size-fits-all routine.
Grout & seal
After the setting materials have cured as required, joints are grouted and movement joints are finished appropriately. Natural stone or other materials receive sealing where recommended. We explain the difference between grout maintenance and waterproofing so the finished surface is cared for correctly.
Final walkthrough
We review the completed tile with you, including edges, transitions and any agreed details. You receive guidance on when the room can return to use and how to clean the selected finish. The walkthrough is the time to ask practical maintenance questions before the project is wrapped up.
Why a tile specialist matters
A finished bathroom can look simple because the difficult decisions have already been resolved. Tile layout has to account for corners, fixtures, transitions and the dimensions of the actual room. Small differences in a wall or floor affect the finished pattern. Taking time to assess those conditions helps avoid awkward cuts and inconsistent joint widths that become obvious once the entire surface is tiled.
The work beneath the tile matters just as much. A stable substrate, suitable setting materials and correct wet-area preparation support the finish for the long term. We separate surface repairs from waterproofing questions rather than assuming grout will solve both. If your bathroom includes a shower rebuild, visit our shower tile page for the membrane, pan and flood-test process. The estimate is also the time to establish what is included, what remains in place and how surrounding finishes will be protected.
Cost & timeline
Most bathroom retiles in Queens, NY run roughly [low–high dollar range], depending on the size, chosen tile and whether the shower is rebuilt. A typical bathroom floor and wall retile takes about [X–Y] days once work starts. These are placeholders, not a price offer or a promised schedule. Your project is quoted after a free in-home estimate so the agreed scope and fixed price are clear before work begins.
Tile dimensions, demolition needs, substrate repairs and drying or curing requirements all influence the sequence. A full shower rebuild with waterproofing adds time for membrane work and the flood test. We discuss access to the room, material availability and how the work affects daily routines before starting. For more on demolition, tile selection and installation materials, insurance and scheduling, read our FAQ or include your questions when requesting an estimate.
No — installation only. We install tile only. We do not sell tile, and we have no showroom or warehouse. We supply the installation materials: setting materials, grout, waterproofing membrane, trims as needed. Choose your tile ahead of time with your designer, at a showroom or online. Have it delivered to your home, or we can pick it up. Any pickup arrangements and charges are agreed in advance.
Who supplies the materials?
The tile is your choice, selected ahead of time with your designer, at a showroom or online. We supply the installation materials: setting materials, grout, waterproofing membrane, trims as needed. Tile can be delivered to your home or we can pick it up; any pickup arrangements and charges are agreed in advance. We do not sell tile.
Tell us about your bathroom, shower, floor, backsplash or mosaic installation. We’ll look at the details together and provide a free in-home estimate before you commit.