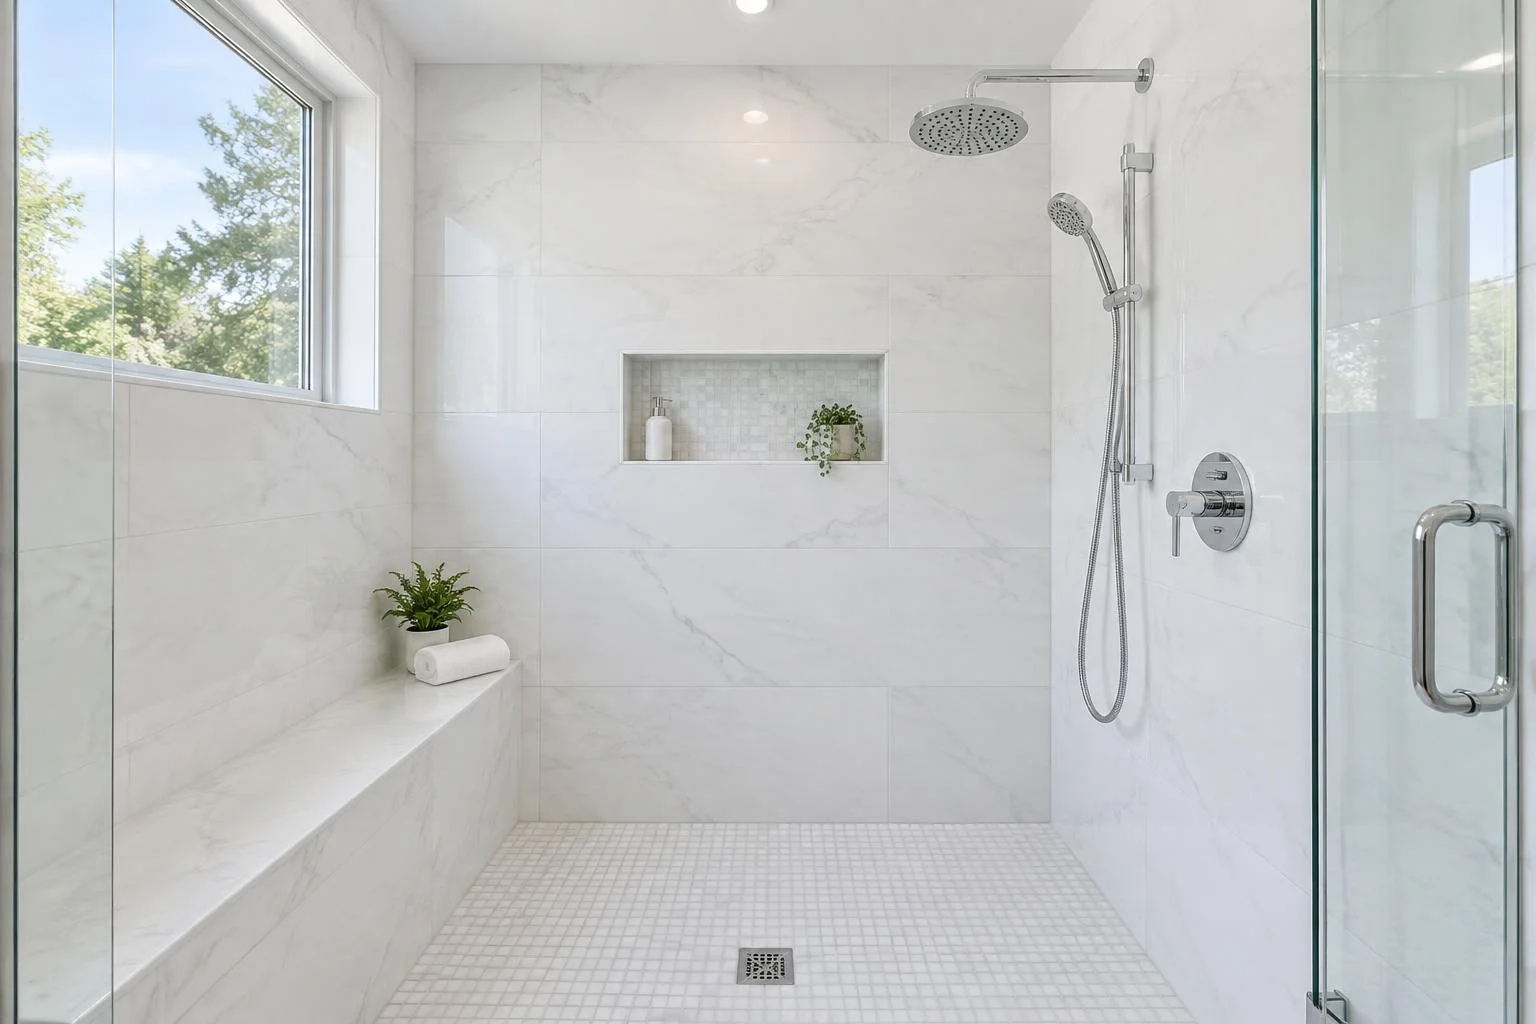
Your shower tile is the finish you see. The waterproofing behind it is the part that keeps water where it belongs. North Shore Tile Co. brings those two jobs together, with a considered layout and a complete wet-area system before tile is set. We plan custom shower tile for homes across Douglaston, Little Neck, Bayside, Whitestone, Forest Hills, Kew Gardens, Jamaica Estates and Belle Harbor in Queens County, NY.
We install tile only. We do not sell tile, and we have no showroom or warehouse.
We supply the installation materials: setting materials, grout, waterproofing membrane, trims as needed.
Choose your tile ahead of time with your designer, at a showroom or online. Have it delivered to your home, or we can pick it up. Any pickup arrangements and charges are agreed in advance.
A shower shaped around your room
A walk-in shower can be compact and straightforward or include a bench, recessed niche and several tiled returns. We begin with how you want to use the space, then consider the dimensions, drainage and tile layout together. The location of a niche changes the cuts around it. A bench changes the waterproofing details. Those choices belong in the planning stage, not after the main wall is already tiled.
Curbless showers require particular attention to floor height, drainage and the boundary between wet and dry areas. A level-looking transition is not a reason to ignore the slope the water needs. We assess whether the existing floor and proposed layout can support the intended approach, and discuss any coordination with plumbing or other trades before the scope is settled.
A tub-to-shower conversion changes more than the tile. Removing the tub may reveal different wall and floor conditions, and the new drain and pan arrangement need to be planned as a complete assembly. Steam showers have additional system requirements for their use; a conventional shower detail should not automatically be treated as suitable for steam. Tell us about the intended fixtures, enclosure and daily use so those requirements can be reviewed at the estimate.
Waterproofing — the part that matters
Tile and grout are not the waterproofing system. Water can move through joints and reach the surface behind the finish. Every shower we build is waterproofed with a proper membrane system, such as Schluter-Kerdi or an equivalent appropriate to the assembly. The membrane needs continuity across the wet area, with compatible treatment of seams, corners and penetrations. A collection of disconnected waterproof-looking products is not a substitute for a complete system installed to its requirements.
The shower pan needs a correct slope toward the drain. Without it, water can remain in the shower instead of draining as intended. The connection between the pan, drain and wall waterproofing is especially important because several parts meet there. We consider the drain position and tile format together; a large tile and a small mosaic behave differently when they meet the geometry of a sloped floor.
Niches and benches need waterproofing too. Recessing a shelf creates more corners and seams, while horizontal surfaces need to shed water rather than hold it. We waterproof these details as part of the same wet-area system, not as accessories added after the walls are finished. Fixture openings and other penetrations are also addressed before the tile covers the assembly.
We flood-test before tiling. The test checks the pan and its connections while they are still accessible, so a problem can be addressed before it is hidden beneath the finish. Membrane curing and test conditions follow the system requirements. Bad shower jobs can fail when they skip these steps, mix incompatible details or rely on grout to stop a leak. A cosmetic regrout should not be presented as a cure for failed waterproofing behind the tile.
Our installation process
Demolition
Existing tile and the agreed shower assembly are removed, and debris is hauled away. Once the surfaces are open, we can check their condition and confirm preparation needs. A rebuild should resolve the underlying problem rather than place a new finish over an unexplained leak.
Pan & slope
The shower base and drain arrangement are prepared to provide the correct fall toward the drain. We check the intended floor tile against the pan geometry. Curbs, transitions and any bench details are considered as part of this stage rather than after the walls are finished.
Membrane system
The waterproofing membrane is installed with the system’s required seams, corners and connections. The pan, walls, niches and other wet-area details must work together. Care at these junctions matters because they become difficult to inspect once the tile is in place.
Flood test
Before tiling, we flood-test the shower pan under the appropriate system conditions. This allows the assembly to be checked while it is accessible. We do not substitute a quick visual look at the surface for the agreed waterproofing and testing sequence.
Layout
Tile reference lines are established around the enclosure, niches, fittings and corners. We review the pattern and edge treatment so the final cuts look considered. A centered feature does not always mean every wall starts with the same cut; the room’s actual dimensions guide the decision.
Setting
The floor and wall tile are installed using appropriate materials and methods. Alignment, coverage and transitions are checked throughout the work. Particular attention goes to floor sheets, niche returns and the visible edges that frame the shower when the glass enclosure is in place.
Grout, seal & handover
The joints are finished after the setting materials have cured as required, with appropriate treatment at movement joints. Sealing is applied where recommended for the selected material. We review the completed work and explain curing, cleaning and return-to-use guidance before handing the shower back.
Materials & layout
Porcelain, ceramic, stone, glass and mosaic each bring different possibilities to a shower. Suitability for the wet area comes first, followed by scale, finish and maintenance. Porcelain can offer a stone-like appearance without the same care routine as natural marble. Natural stone can be beautiful, but its cleaning and sealing requirements should be understood before it is selected.
We look at how the wall pattern meets the floor, niche, bench and enclosure. Large-format wall tile needs a carefully prepared surface and a layout that accounts for corners and edges. Mosaic floors create a different rhythm of joints and can accommodate changes in slope, but require close attention to sheet alignment. Grout color, edge trim and shelf details are part of the finished composition, not minor decisions to rush at the end.
If you have designer drawings, bring them along. We can review tile dimensions and details against the actual room before ordering quantities are finalized. Changes to the material or pattern can affect preparation and sequencing, so confirm the selection early. We also discuss the cleaning products appropriate to your tile and grout rather than leaving you to guess after the first use.
Cost & timeline
A custom shower is quoted after a free in-home estimate. The pan, waterproofing, demolition, tile format, niches and benches all affect the work required. Keep [shower price range] as a placeholder until project pricing is confirmed. You receive a fixed price for the agreed scope before work begins, with any subsequently discovered conditions discussed rather than silently covered over.
The planned installation takes [X–Y days], with the actual schedule confirmed for your project. Waterproofing and flood testing add time that should not be removed simply to make a schedule look shorter. Setting, grouting and curing also have their own requirements. We explain when the shower will be out of use and when it can be used again. Our FAQ covers waterproofing, tile selection and installation materials and demolition; the contact form is a place to share your proposed shower layout and questions.
No — installation only. We install tile only. We do not sell tile, and we have no showroom or warehouse. We supply the installation materials: setting materials, grout, waterproofing membrane, trims as needed. Choose your tile ahead of time with your designer, at a showroom or online. Have it delivered to your home, or we can pick it up. Any pickup arrangements and charges are agreed in advance.
Who supplies the materials?
The tile is your choice, selected ahead of time with your designer, at a showroom or online. We supply the installation materials: setting materials, grout, waterproofing membrane, trims as needed. Tile can be delivered to your home or we can pick it up; any pickup arrangements and charges are agreed in advance. We do not sell tile.
Tell us about your bathroom, shower, floor, backsplash or mosaic installation. We’ll look at the details together and provide a free in-home estimate before you commit.